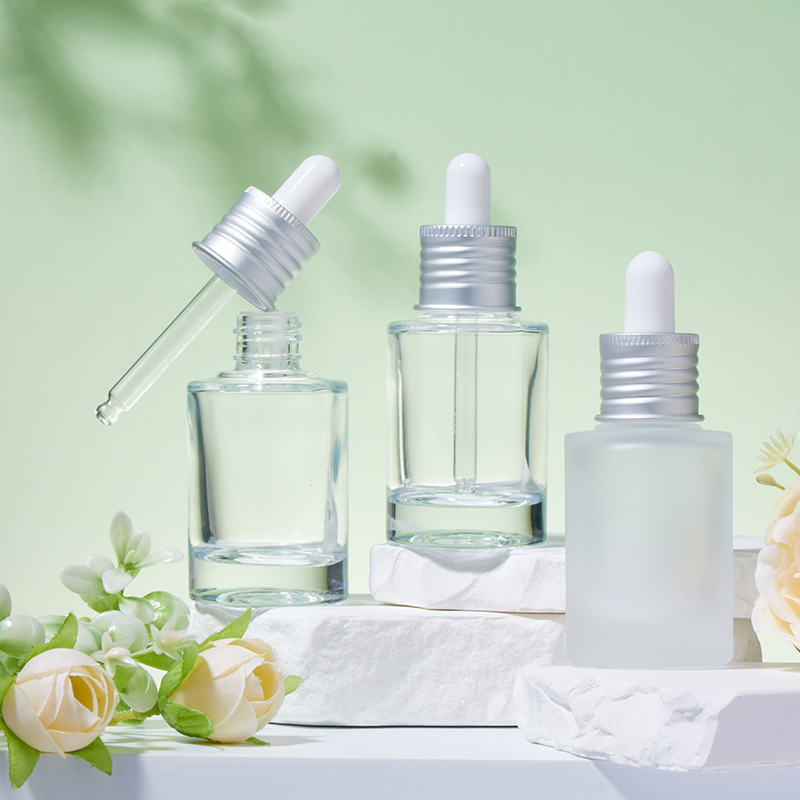
How to clean out a lotion pump?
Industry News-Here's a practical guide to cleaning lotion pumps, based on real-world experience:
Content
1. Disassembly is Non-Negotiable
Twist off pump head: Unscrew from bottle neck.
Forcefully pull up actuator: Most separate from the collar with firm upward tug.
Remove dip tube: Often snaps out from pump base – check for notches.
Extract internal parts: Use tweezers to pull out spring, piston, and seals.
Warning: Non-detachable pumps can’t be cleaned properly – discard.
2. Pre-Soak for Sticky Residues
Fill mug with warm water (not boiling – deforms plastic).
Add 1 drop dish soap – cuts through oils.
Submerge parts except springs (risk rust).
Soak 15-20 mins for dried lotion; overnight for crystallized formulas.
3. Scrub Hidden Crevices
| Part | Tool | Technique |
|---|---|---|
| Dip tube | Pipe cleaner/bottle brush | Twirl inside tube; focus on bend points |
| Nozzle holes | Toothpick | Dig out clogged orifice from both sides |
| Piston chamber | Cotton swab | Swab interior walls; check seal grooves |
| Spring | Stiff-bristle toothbrush | Scrub coil gaps under running water |
4. Deep Clean for Oil-Based Lotions
For coconut/olive oil residues: Soak parts in rubbing alcohol 10 mins (dissolves grease).
For silicone-based serums: Wipe with vinegar-dampened cloth to prevent slick film.
5. Drying: The Make-or-Break Step
Never sun-dry: Warps plastic and cracks seals.
Air-dry vertically: – Stand dip tube upside down in glass – Place pump body on paper towel roll – Fan-dry springs/seals separately
Test dryness: Blow through nozzle – no moisture sounds.
6. Reassembly Pitfalls to Avoid
Spring direction: Coiled end faces piston (check indentation marks).
Dip tube depth: Must touch bottle bottom when reassembled.
Seal alignment: Flat side seals against bottle neck.


 中文简体
中文简体 Español
 عربى
عربى
